- Event Promotion Tips
Skiddle’s New Year’s Event Checklist
-
By Ryan Moss
- 05 Dec 2023
- 18 min read

Skiddle’s New Year’s Eve campaign kicked off in November. You’ll see adverts in the national press, with a focus on social media to promote our message to the Skiddle customer base.
The competition will be fierce across the period, with promoters across the country doing as much as they can to spread the word of their event. That’s why it’s important to ensure that you’re promoting your event in the most effective way.
To help you optimise your listings, We’ve put together a New Year’s Eve checklist, helping you tick off the crucial aspects of the event management process and ensure your end-of-year bash is optimised to sell out and attract the maximum amount of attendees.
Here, you’ll find information on listing your event, how to enable Re:Sell to your New Year’s Eve listing, the Skiddle Queue and how it works, information on our RapidScan app and details on the Waiting List.
Top Tip: We recommend bookmarking this page, so you can refer back to it in the days and weeks to come.
Creating an account and listing your event
To create an account with Skiddle, click the ‘Add Your Event’ button on the top right-hand side of the Skiddle Promotion Centre page. From here, you’ll be able to sign up with us. If you already have a Skiddle account, head to step two below.
Add new event
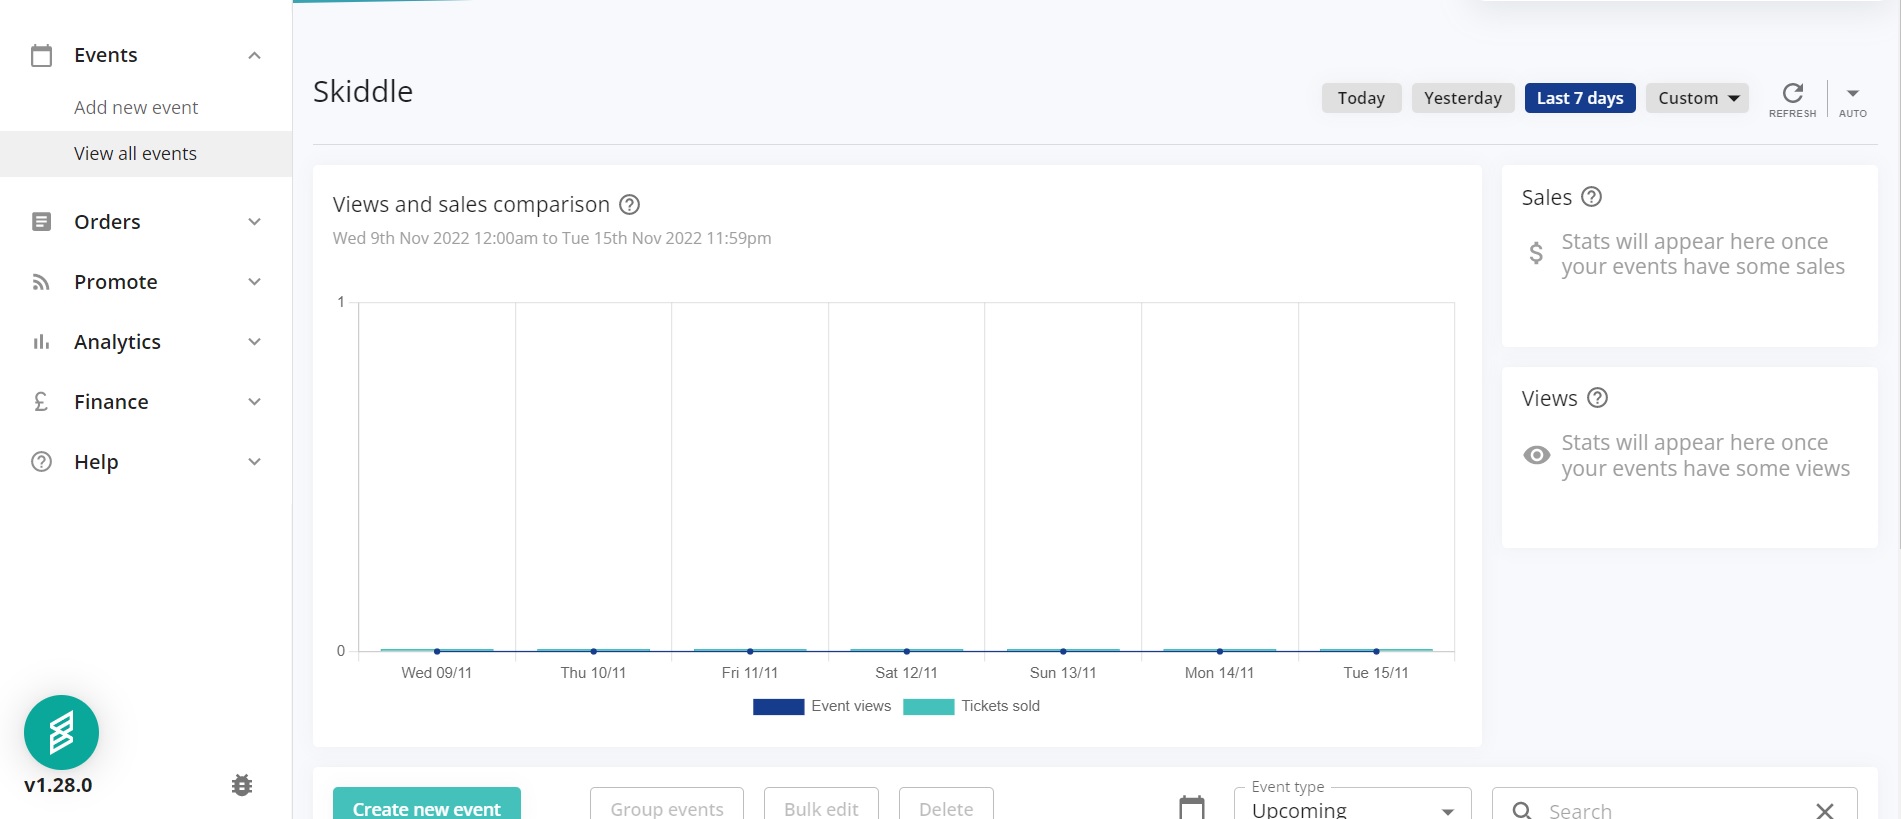
In the Promotion Centre dashboard, navigate to the left-hand side and click ‘Add New Event’.
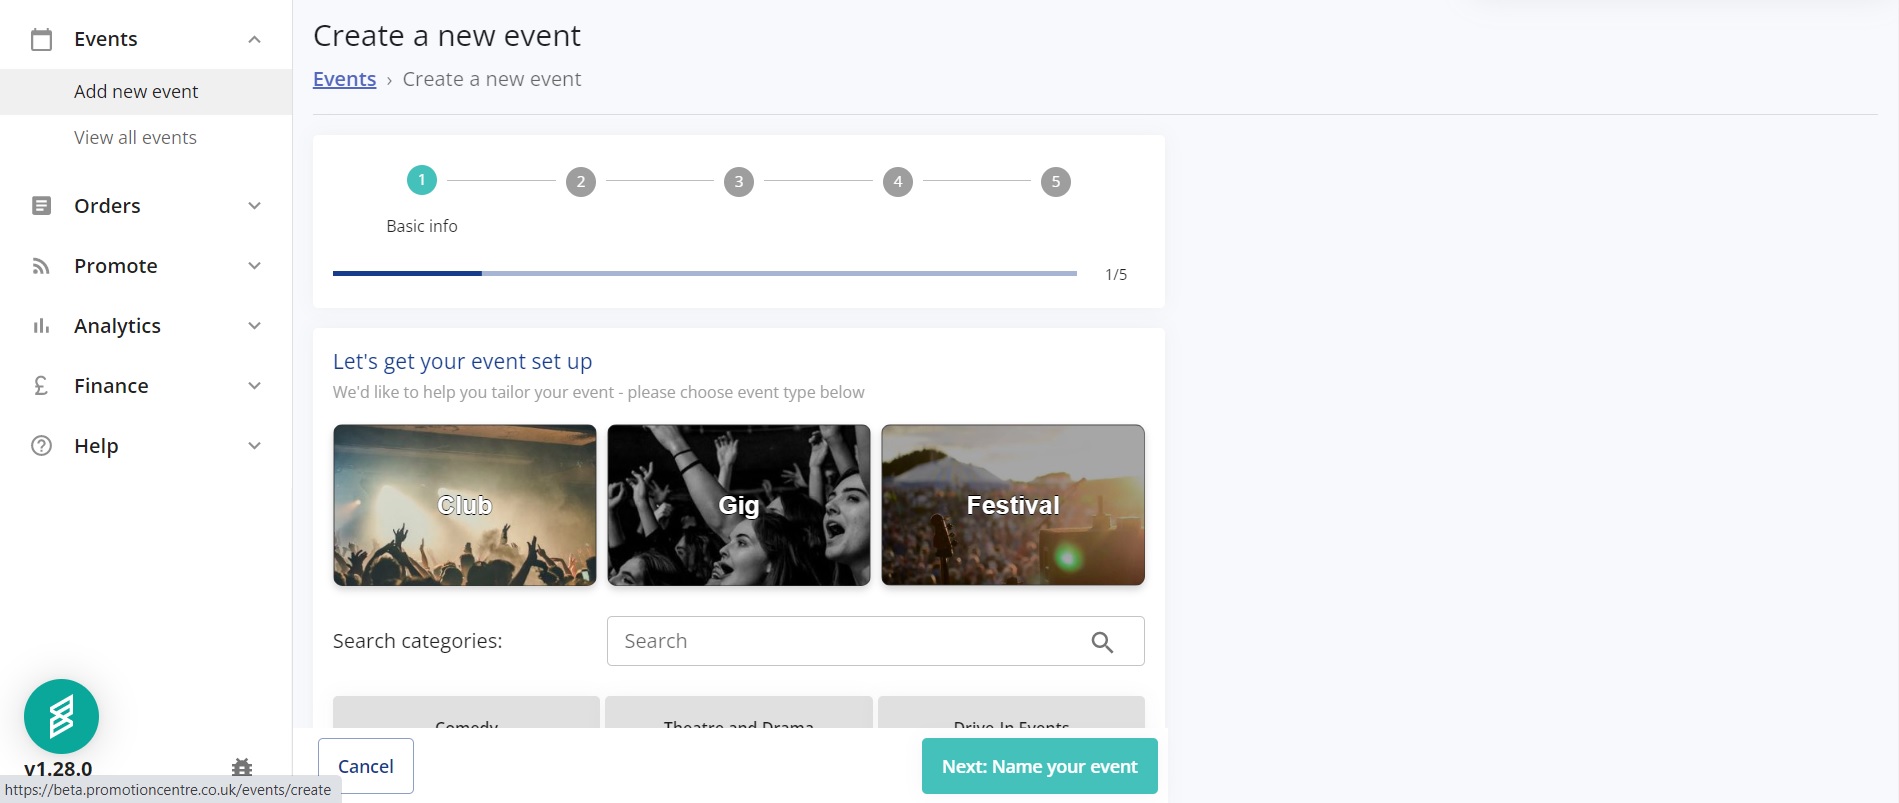
Basic information
Select the type of event you are putting on. You can select a gig, club or festival; or choose any of the options in the boxes underneath if your event isn’t music related.
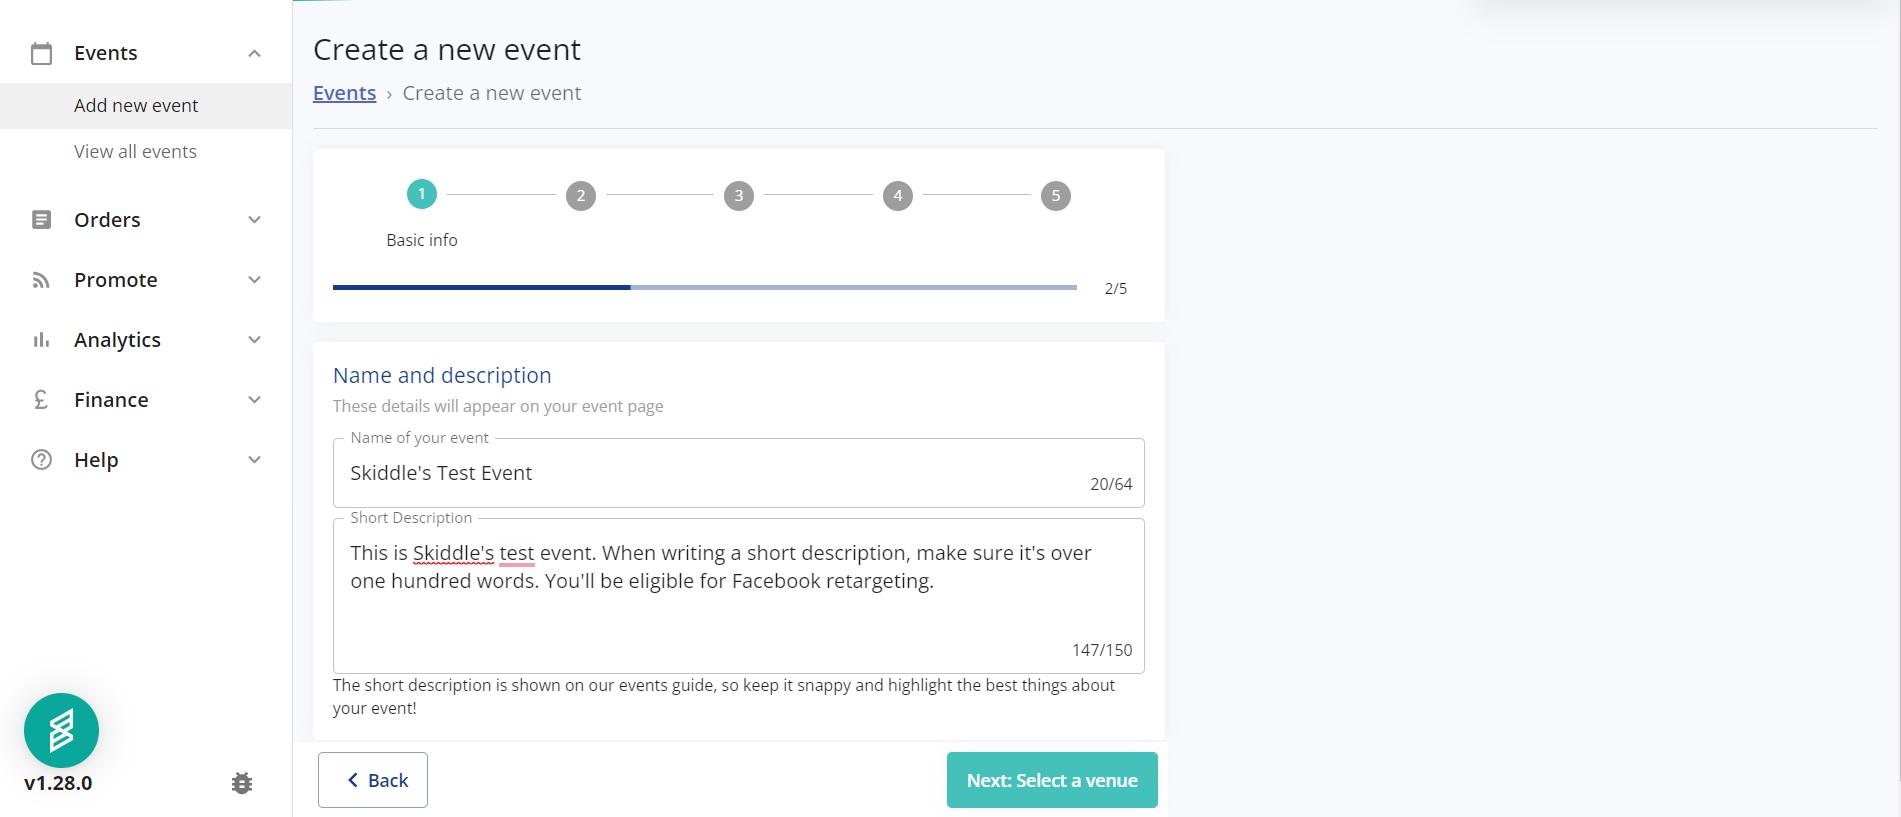
Next, you can enter the name of your event and set the short description. Ensure that the name and description aren’t all in capitals. It could lead to your listing being flagged and taken down. When writing your short description, write at least one hundred words so you can be eligible for Facebook retargeting.
Then, select the venue. You can choose whether the event is a physical or virtual one. Type the venue’s name into the box, and the search function will return it.

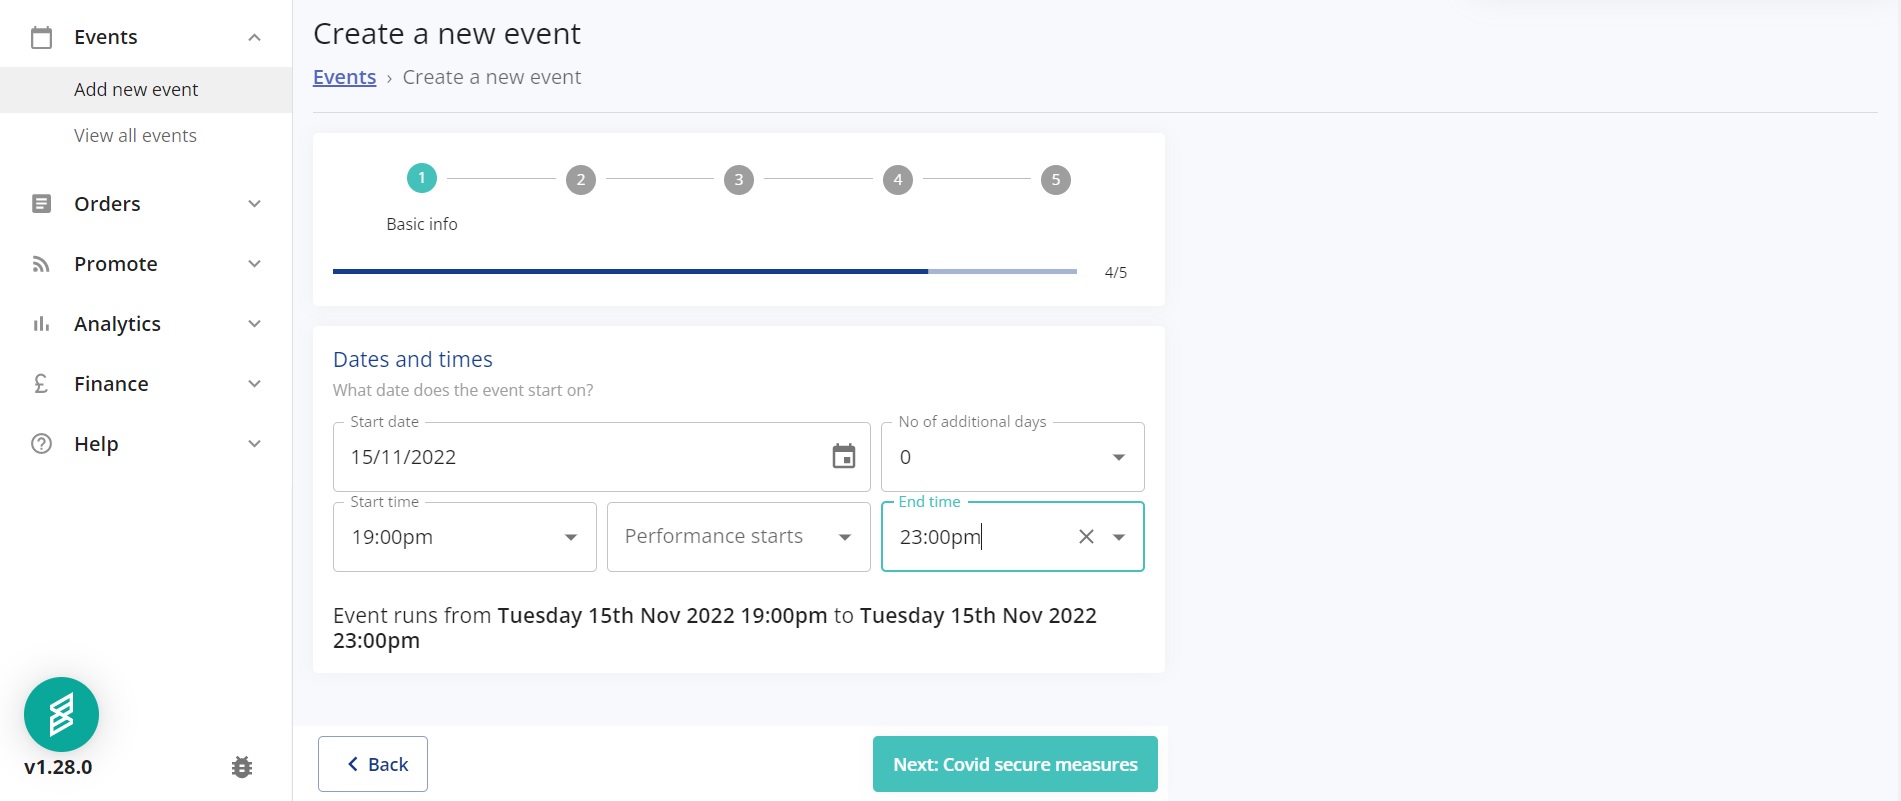
Next, input the dates and times of your event and finish the first section by adding any Covid measures.
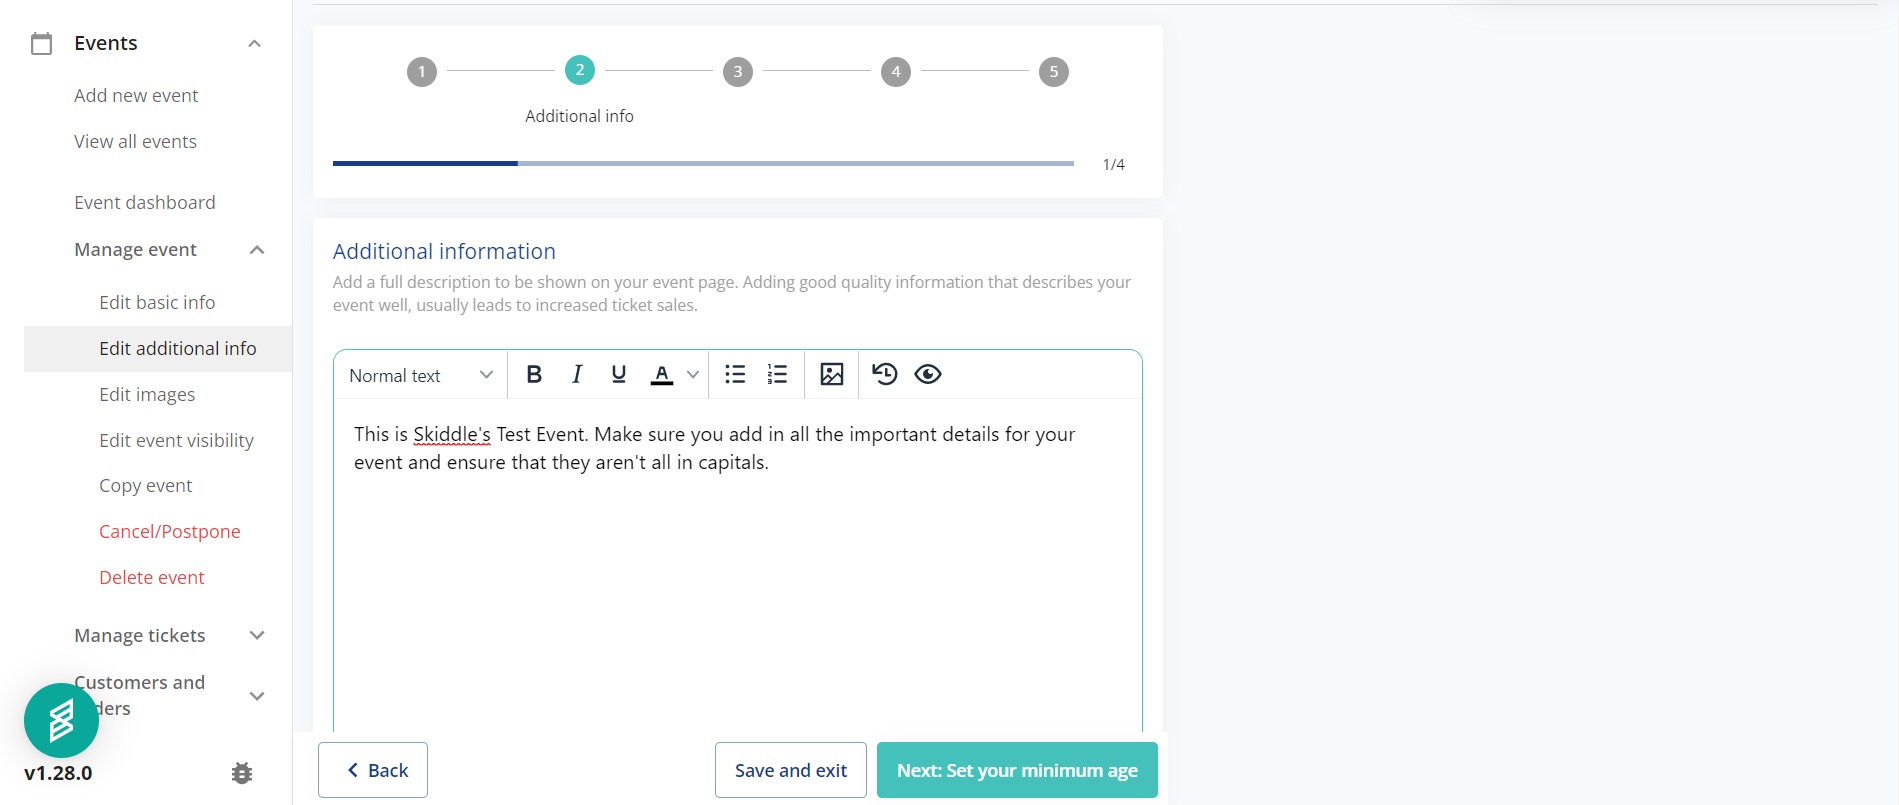
Additional Information
You can add an in-depth description of your event here. Ensure it’s detailed, featuring all the information your attendees need about your event.
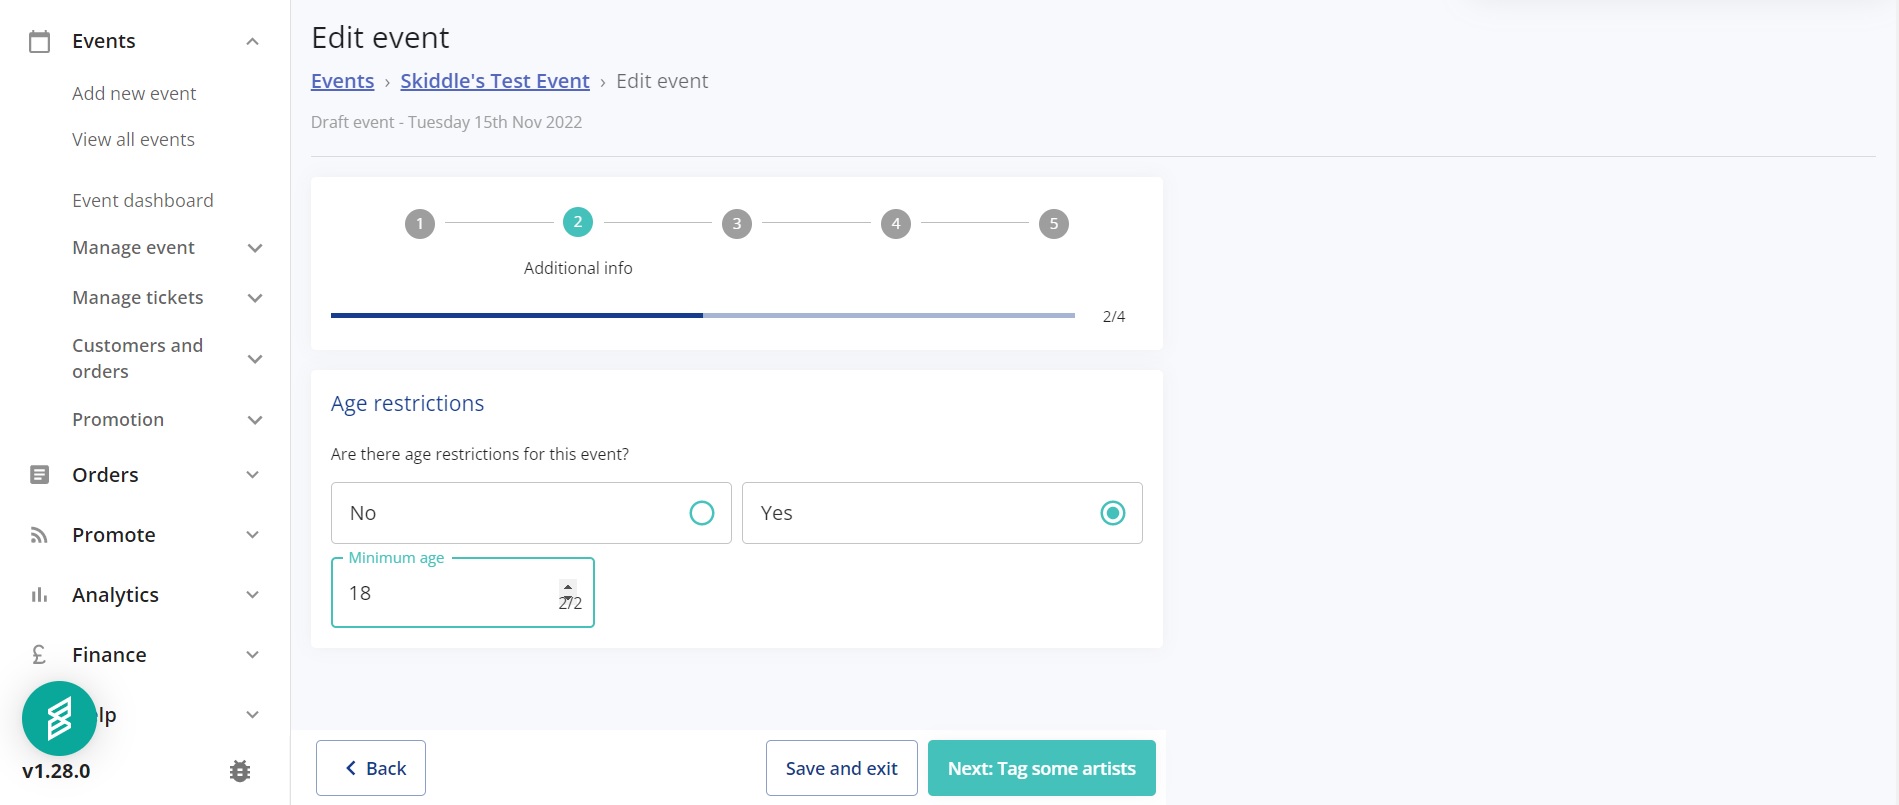
You can add age restrictions to your event here. If there are any age restrictions for your event, you can type the minimum age in the box below.
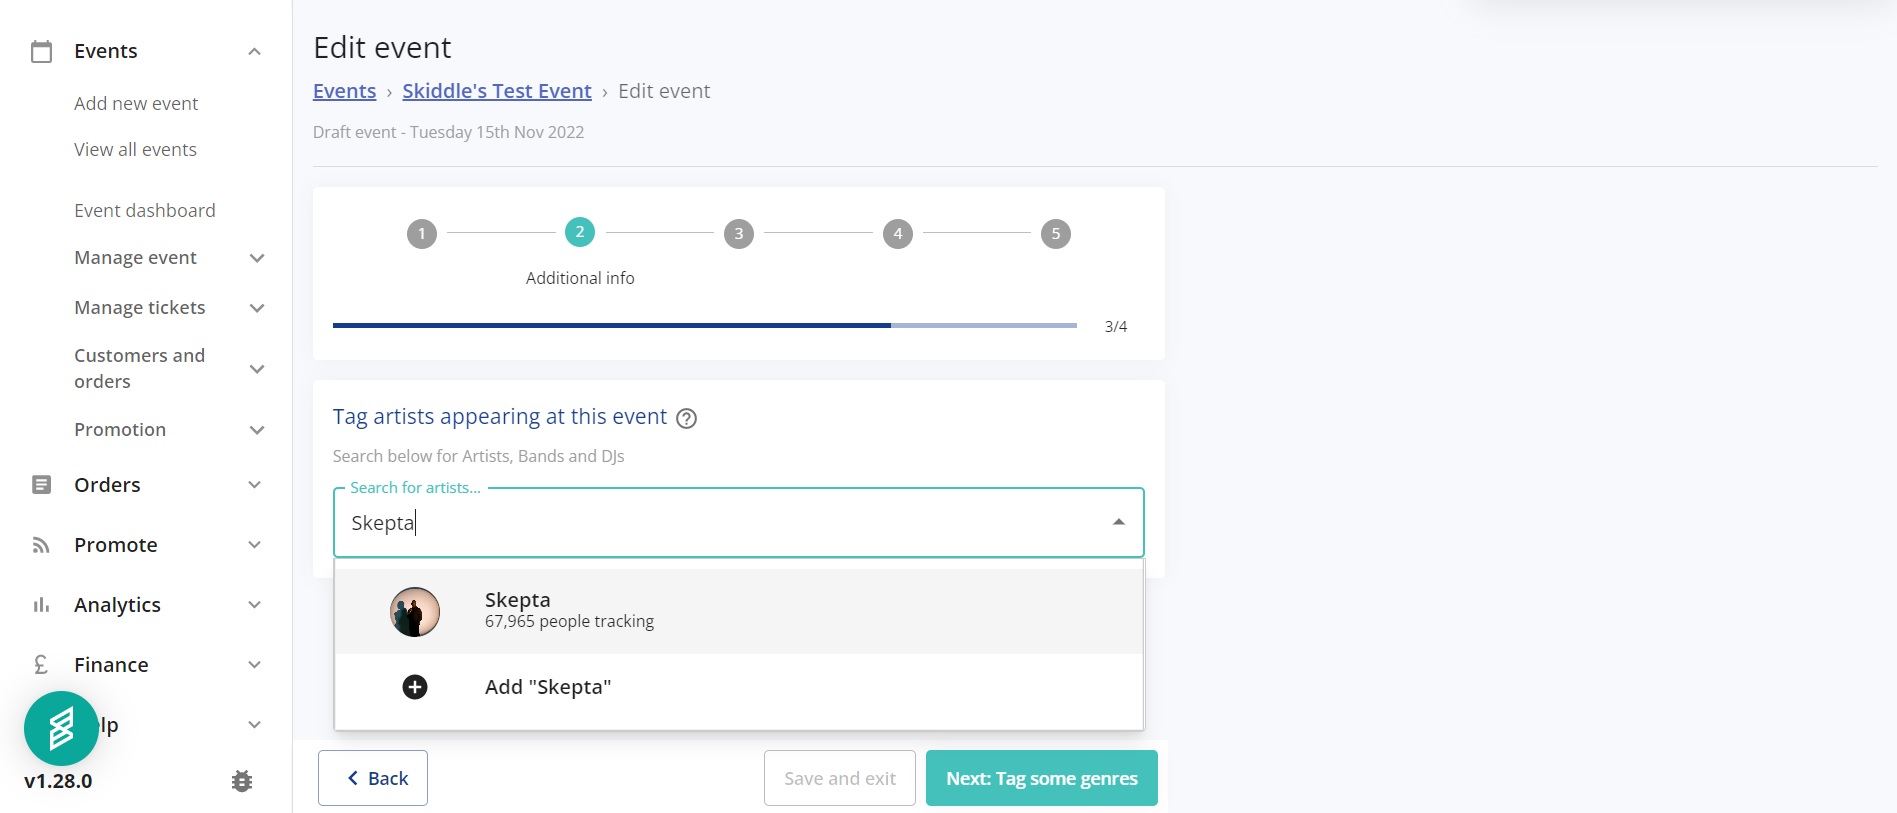
Here, you can tag the performers appearing at your event. Type the name of the person or group, and the search function will return their Skiddle profile.
The next section will allow you to tag the music genres and brands of your event. You can tag up to five genres.

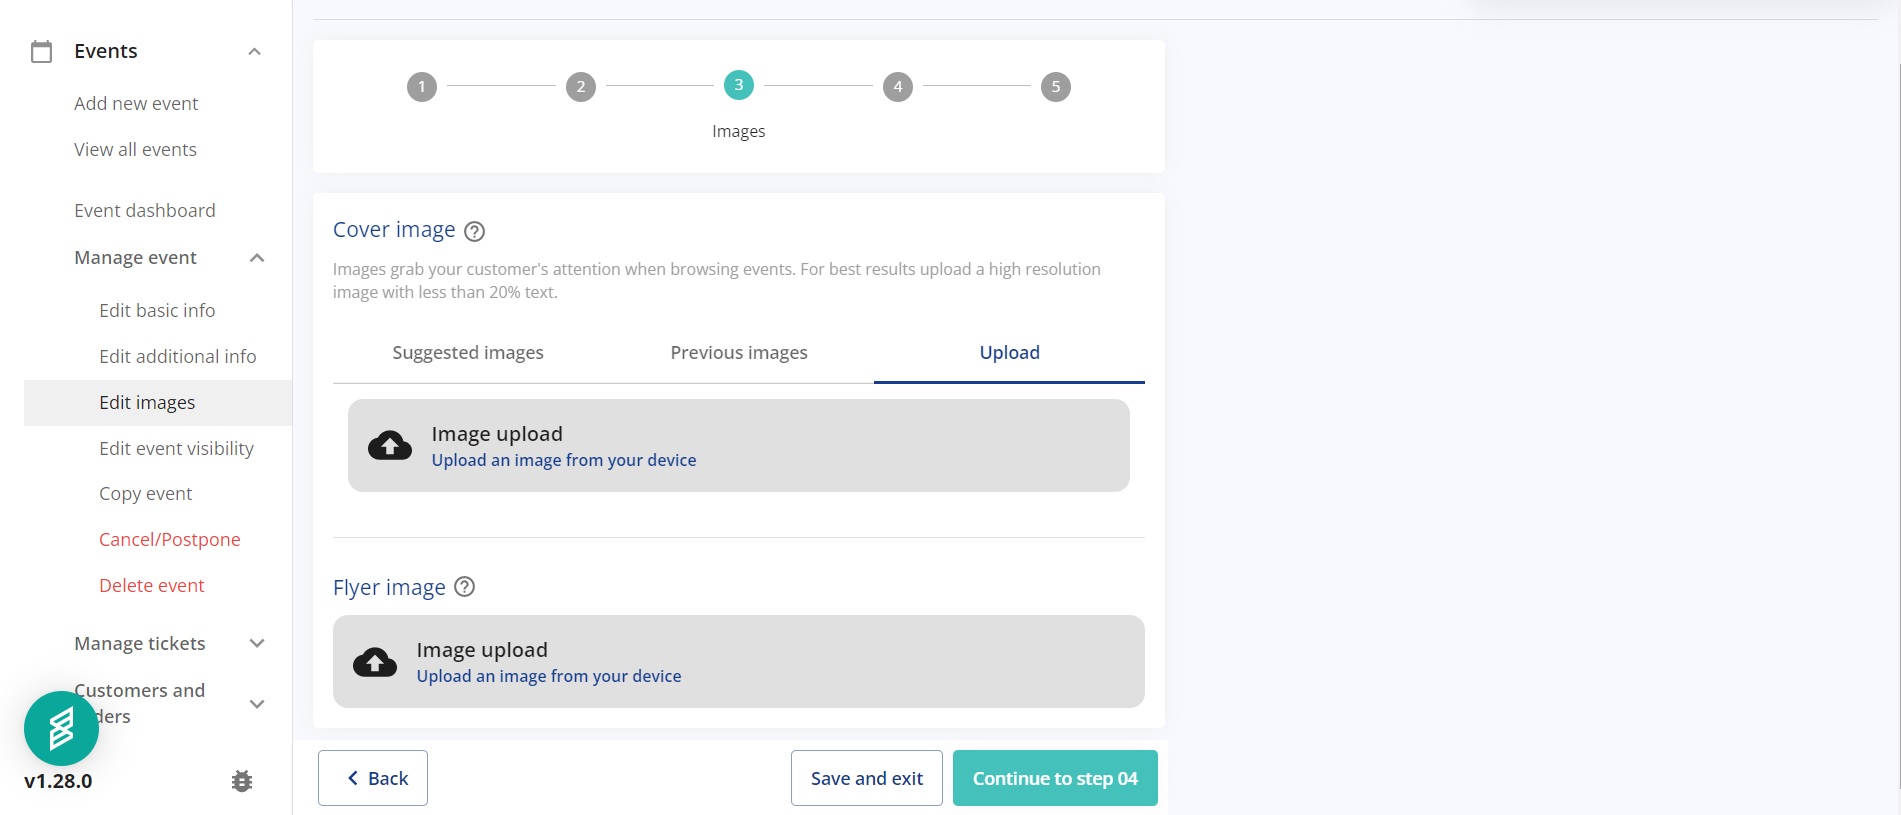
To add a cover image to your event listing, clicking ‘Image Upload’ will allow you to pick an image saved to your device. You can also upload a flyer image, as shown below.
Tickets
Step four allows you to add tickets to your event. You can also add a payment plan ticket here.
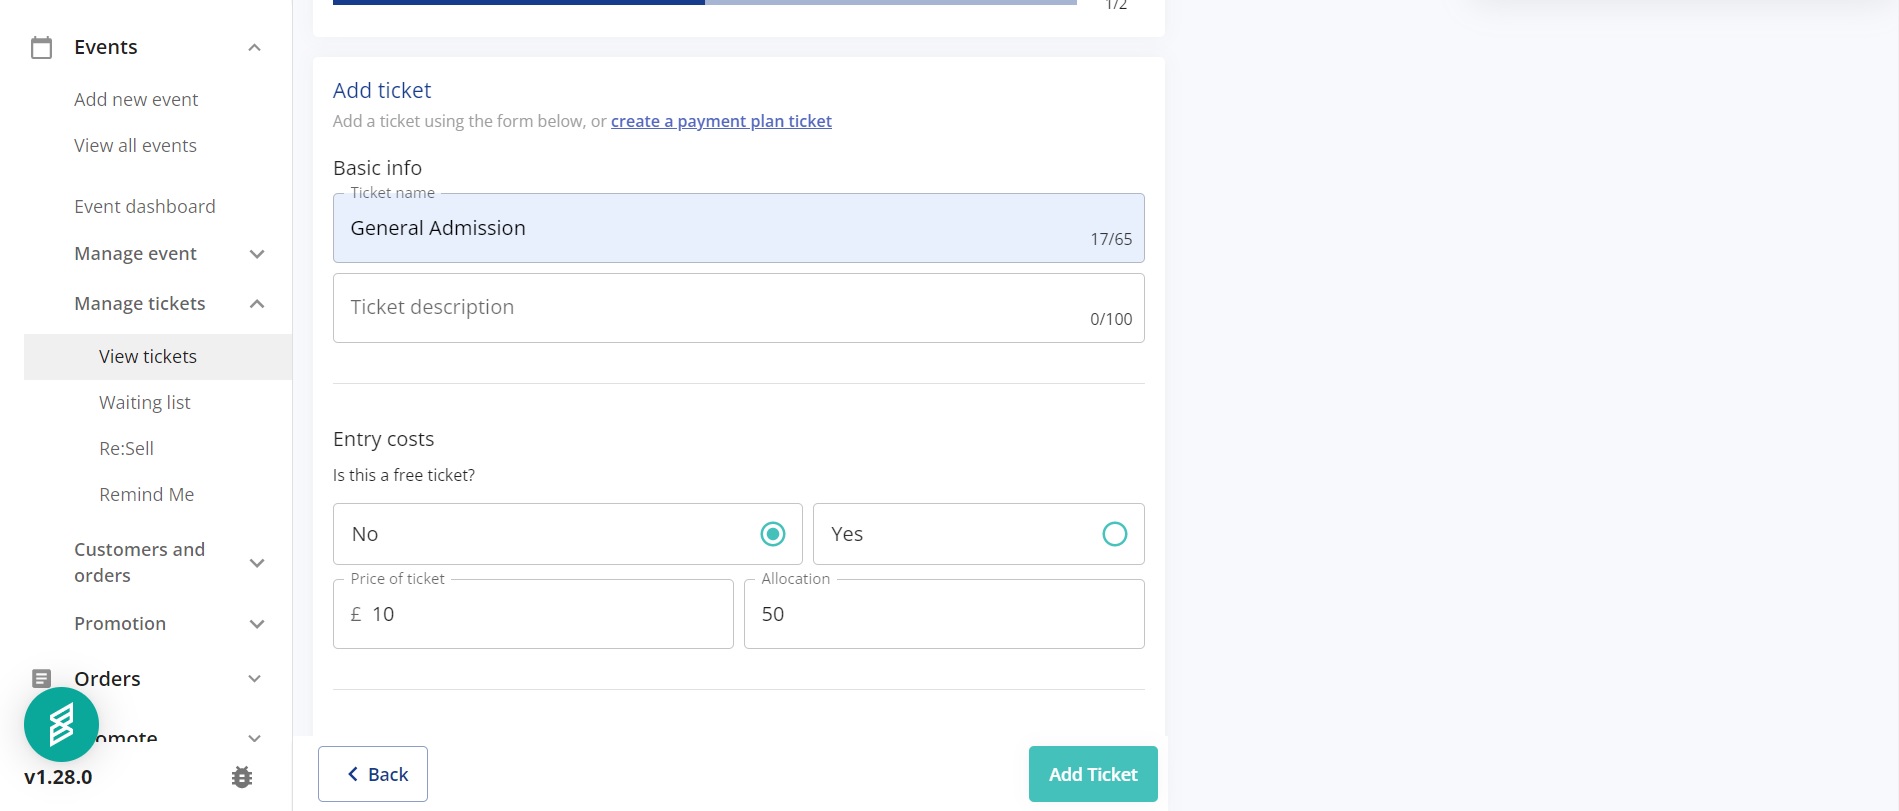
In the image above, you can name your ticket, enter a ticket description, set the price and allocation. In the image below, you can choose the date the tickets go on sale, and the time they stop going on sale.
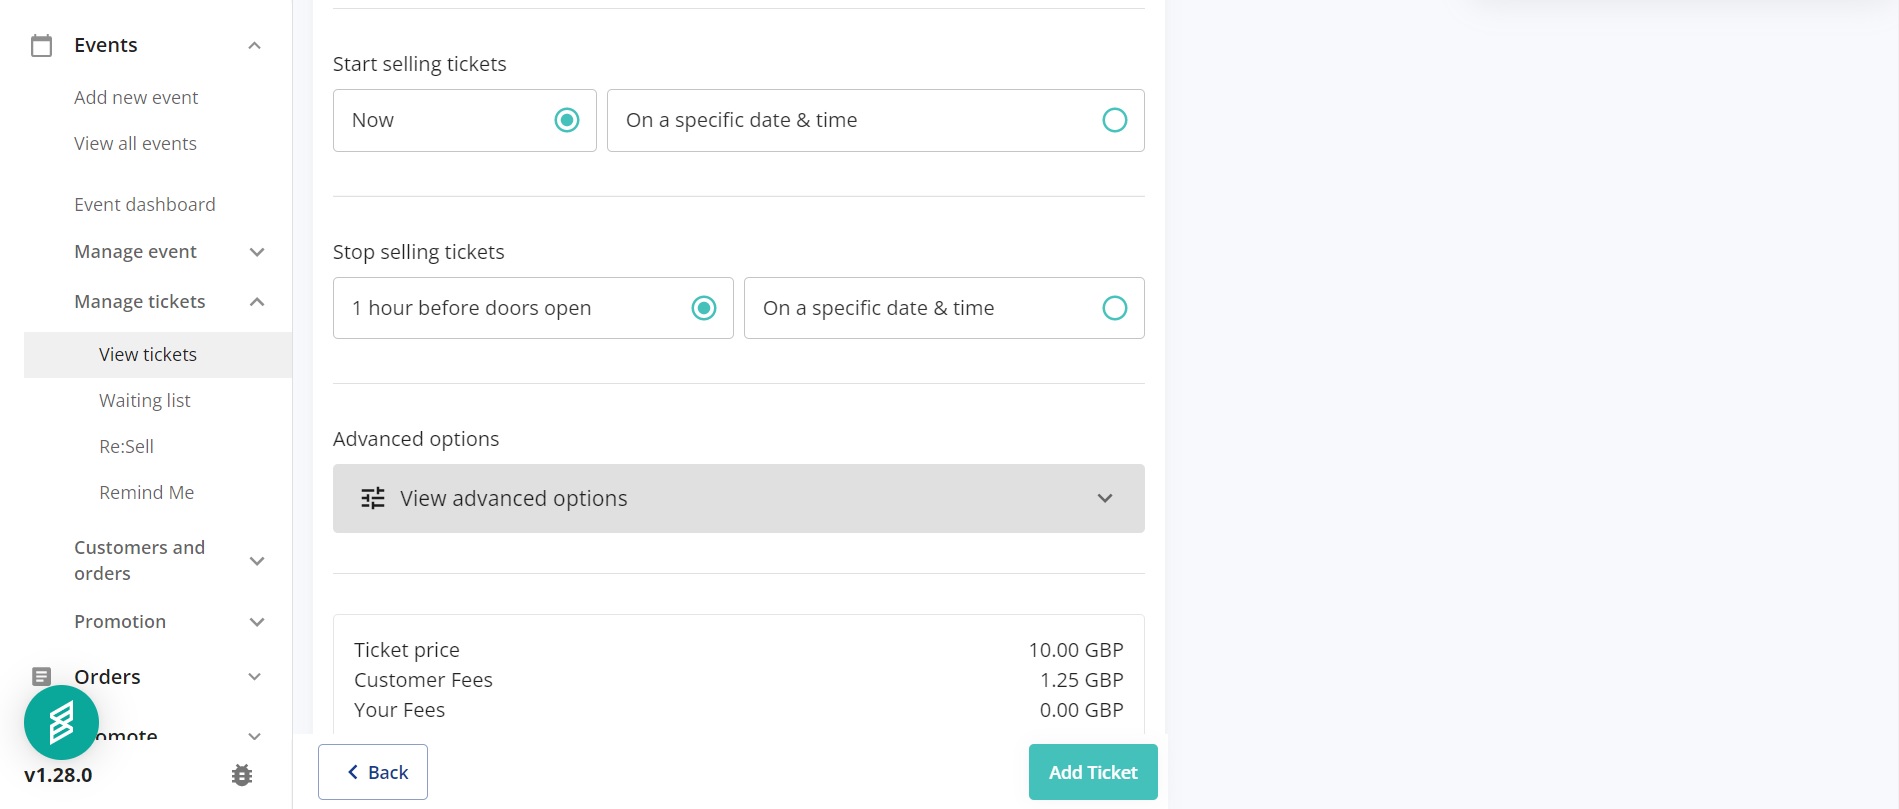
If you have tiered tickets, you can ensure that a new ticket goes on sale when the ticket before it has sold out.
Confirmation
You can set the event visibility in this section. ‘Public’ will make the listing available on the Skiddle website. ‘Private’ will only allow access via a link, and ‘Private Passworded’ will require a password to view the event, which you can set in a box below if you click on this option.

In the screen below, you can check everything is correct with your listing before it goes live. You can embargo the event, preview how it will look, keep it as a draft for when you’re ready to publish, and, if it’s ready, publish the listing on the Skiddle website so people can purchase tickets.
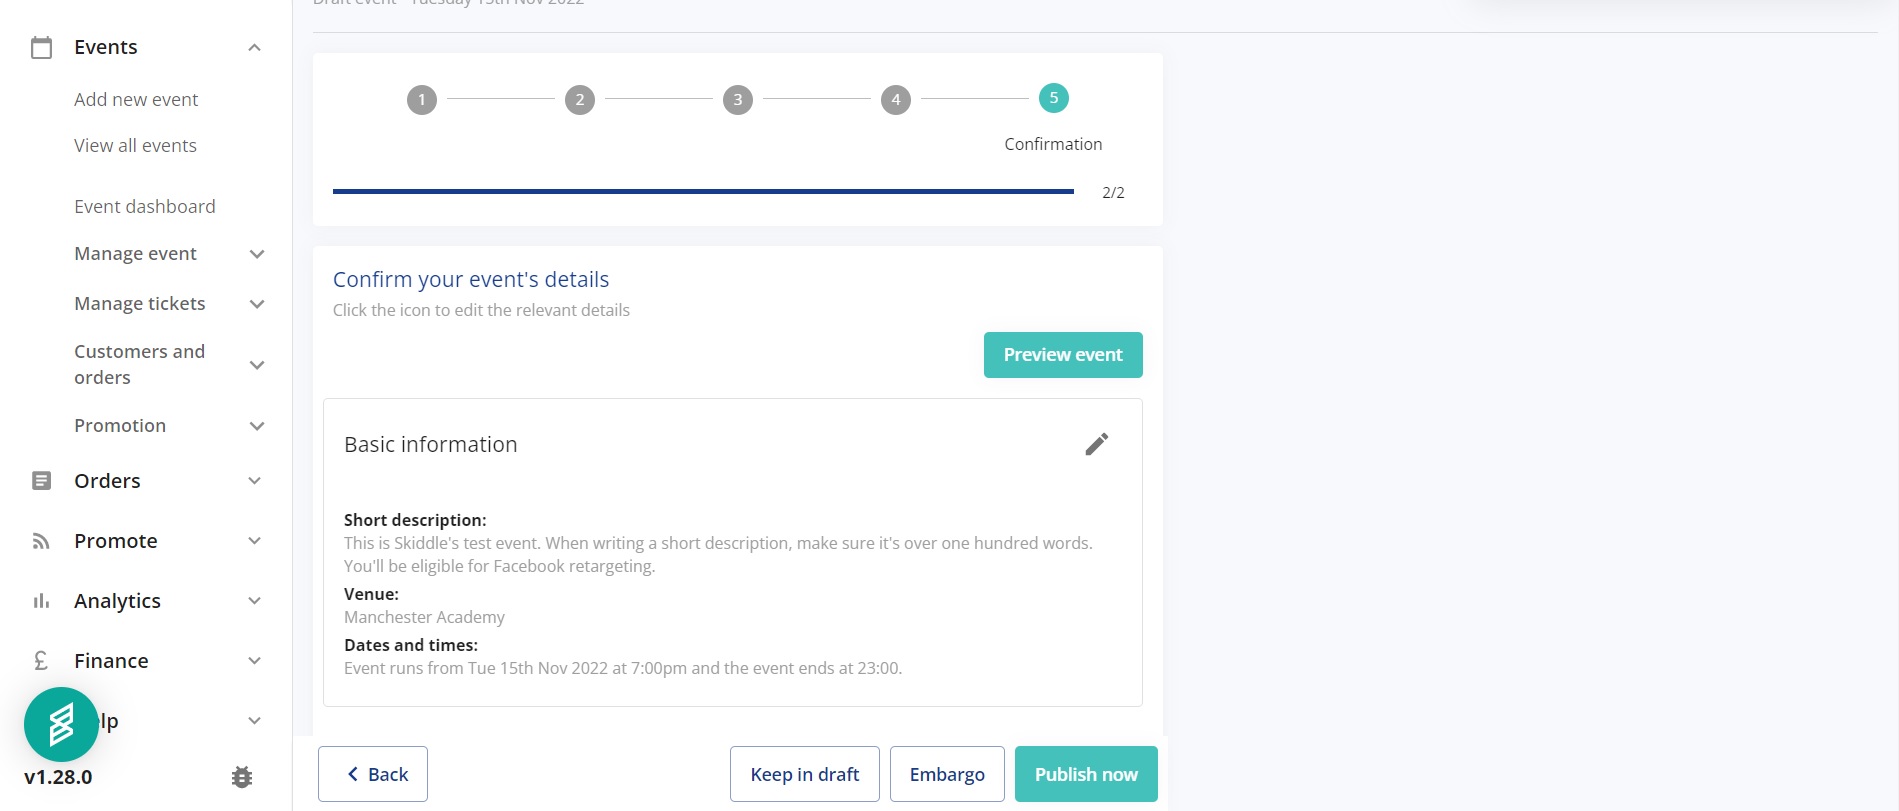
If you scroll down the screen, you’ll be able to quickly add anything you didn’t add in the previous process.

Re:Sell
Re:Sell allows customers to return and resell their tickets to other customers without risk. When customers sell through unofficial channels, they’re at risk of not receiving the money from the buyer. If they are buying, they’re at risk of receiving fraudulent tickets. Re:Sell feature solves this issue. We’re the official ticket agent, so we can verify whether tickets are genuine. To prevent touting for profit, customers can only resell their tickets at face value.
Configuring Re:Sell for your New Year’s Eve event ensures no one loses out. Sellers will get the money if they can’t attend, and buyers have peace of mind when making a purchase because they know that a genuine ticket is on the other end. It also stops people from pricing out people who genuinely want to attend your event.
If you’ve already been remitted for resold tickets, a charge will be added to your account for the resold ticket(s) you’ve already been paid. You’ll receive a new remittance for the new ticket sale. If they are the same amount, this will net zero. You’ll receive the difference if the new ticket is at a higher tier.
Scroll down to find out how to set up Re:Sell for your New Year’s Eve event.
Choose the event you want to add Re:Sell to
Head to the Beta Promotion Centre dashboard, look to the left-hand side and click ‘View All Events’. Scroll down and select the event you’d like to add Re:Sell to.

Once you’ve clicked on the event, you’ll be brought to the dashboard. Head to the menu on the left-hand side, click ‘Manage Tickets’ and then ‘Re:Sell’, located three rows down in the sub-menu.

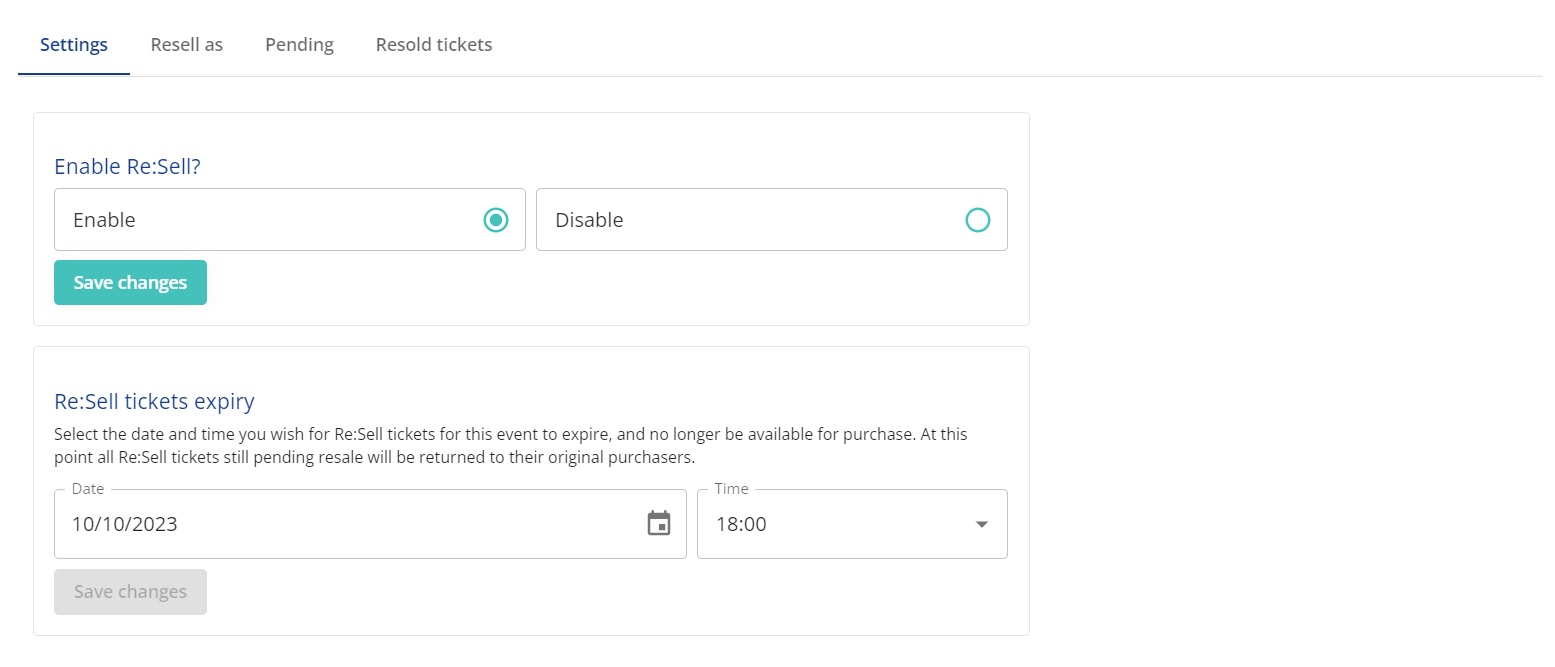
This will take you to the page where you can configure Re:Sell for your event. You’ll be able to enable Re:Sell with a simple click.
Underneath, the ‘Re:Sell tickets expiry’ box allows you to set an expiry date and time for Re:Sell tickets. When this date passes, all Re:Sell tickets pending resale will return to their original purchasers.
The menu at the top allows you to see tickets pending resale and resold tickets.
Skiddle Queue
The Skiddle queue makes ticket purchasing fair for everyone. No matter the customer’s location, the speed of their internet connection or the time they arrive before on-sale time, we want to ensure everyone gets the best chance at buying tickets to the events they love.
It helps manage demand and ensure customer satisfaction. Everyone is placed into an online waiting room, and if they arrive before on-sale time, each person is given an equal chance at being first in the queue. If a customer accidentally closes their browser while at the front of the queue, we’ll remember their place so they won’t lose their place.
If you’re promoting an event with high demand, using the queue can make the buying process fair for your customers and ensure everyone gets a chance to buy. It stops touts, too, who often use bots to buy up batches of tickets. By giving bots no advantage, they rarely appear, and we cancel any purchases they make immediately.
How does the queue work?
If an event is going on sale at 10am. We’ll be expecting a lot of demand, so our virtual waiting room will be enabled at 9:30am
Customers arriving to the event page from 9:30am will be placed in a waiting room, with a countdown timer informing them when the event goes on sale. This automatically refreshes to keep you informed of any changes.
Once 10am approaches, we assign all customers who were in the waiting room, a random position in the queue. Anyone who joins late (after 10am) will be placed at the back of the queue.
We’ll then start letting customers through to pick their tickets. We’ll keep you updated as to how many customers are in front of you in the queue and the expected waiting time.
Once you’re at the front of the queue, you can proceed to purchase your tickets. You’re not given any time limit to select which tickets you want, but once you hit the checkout you’ll have 8 minutes to complete your information and card details. We permit one transaction per customer, but this can be for any number of tickets, up to the limit the event organiser has set.
RapidScan
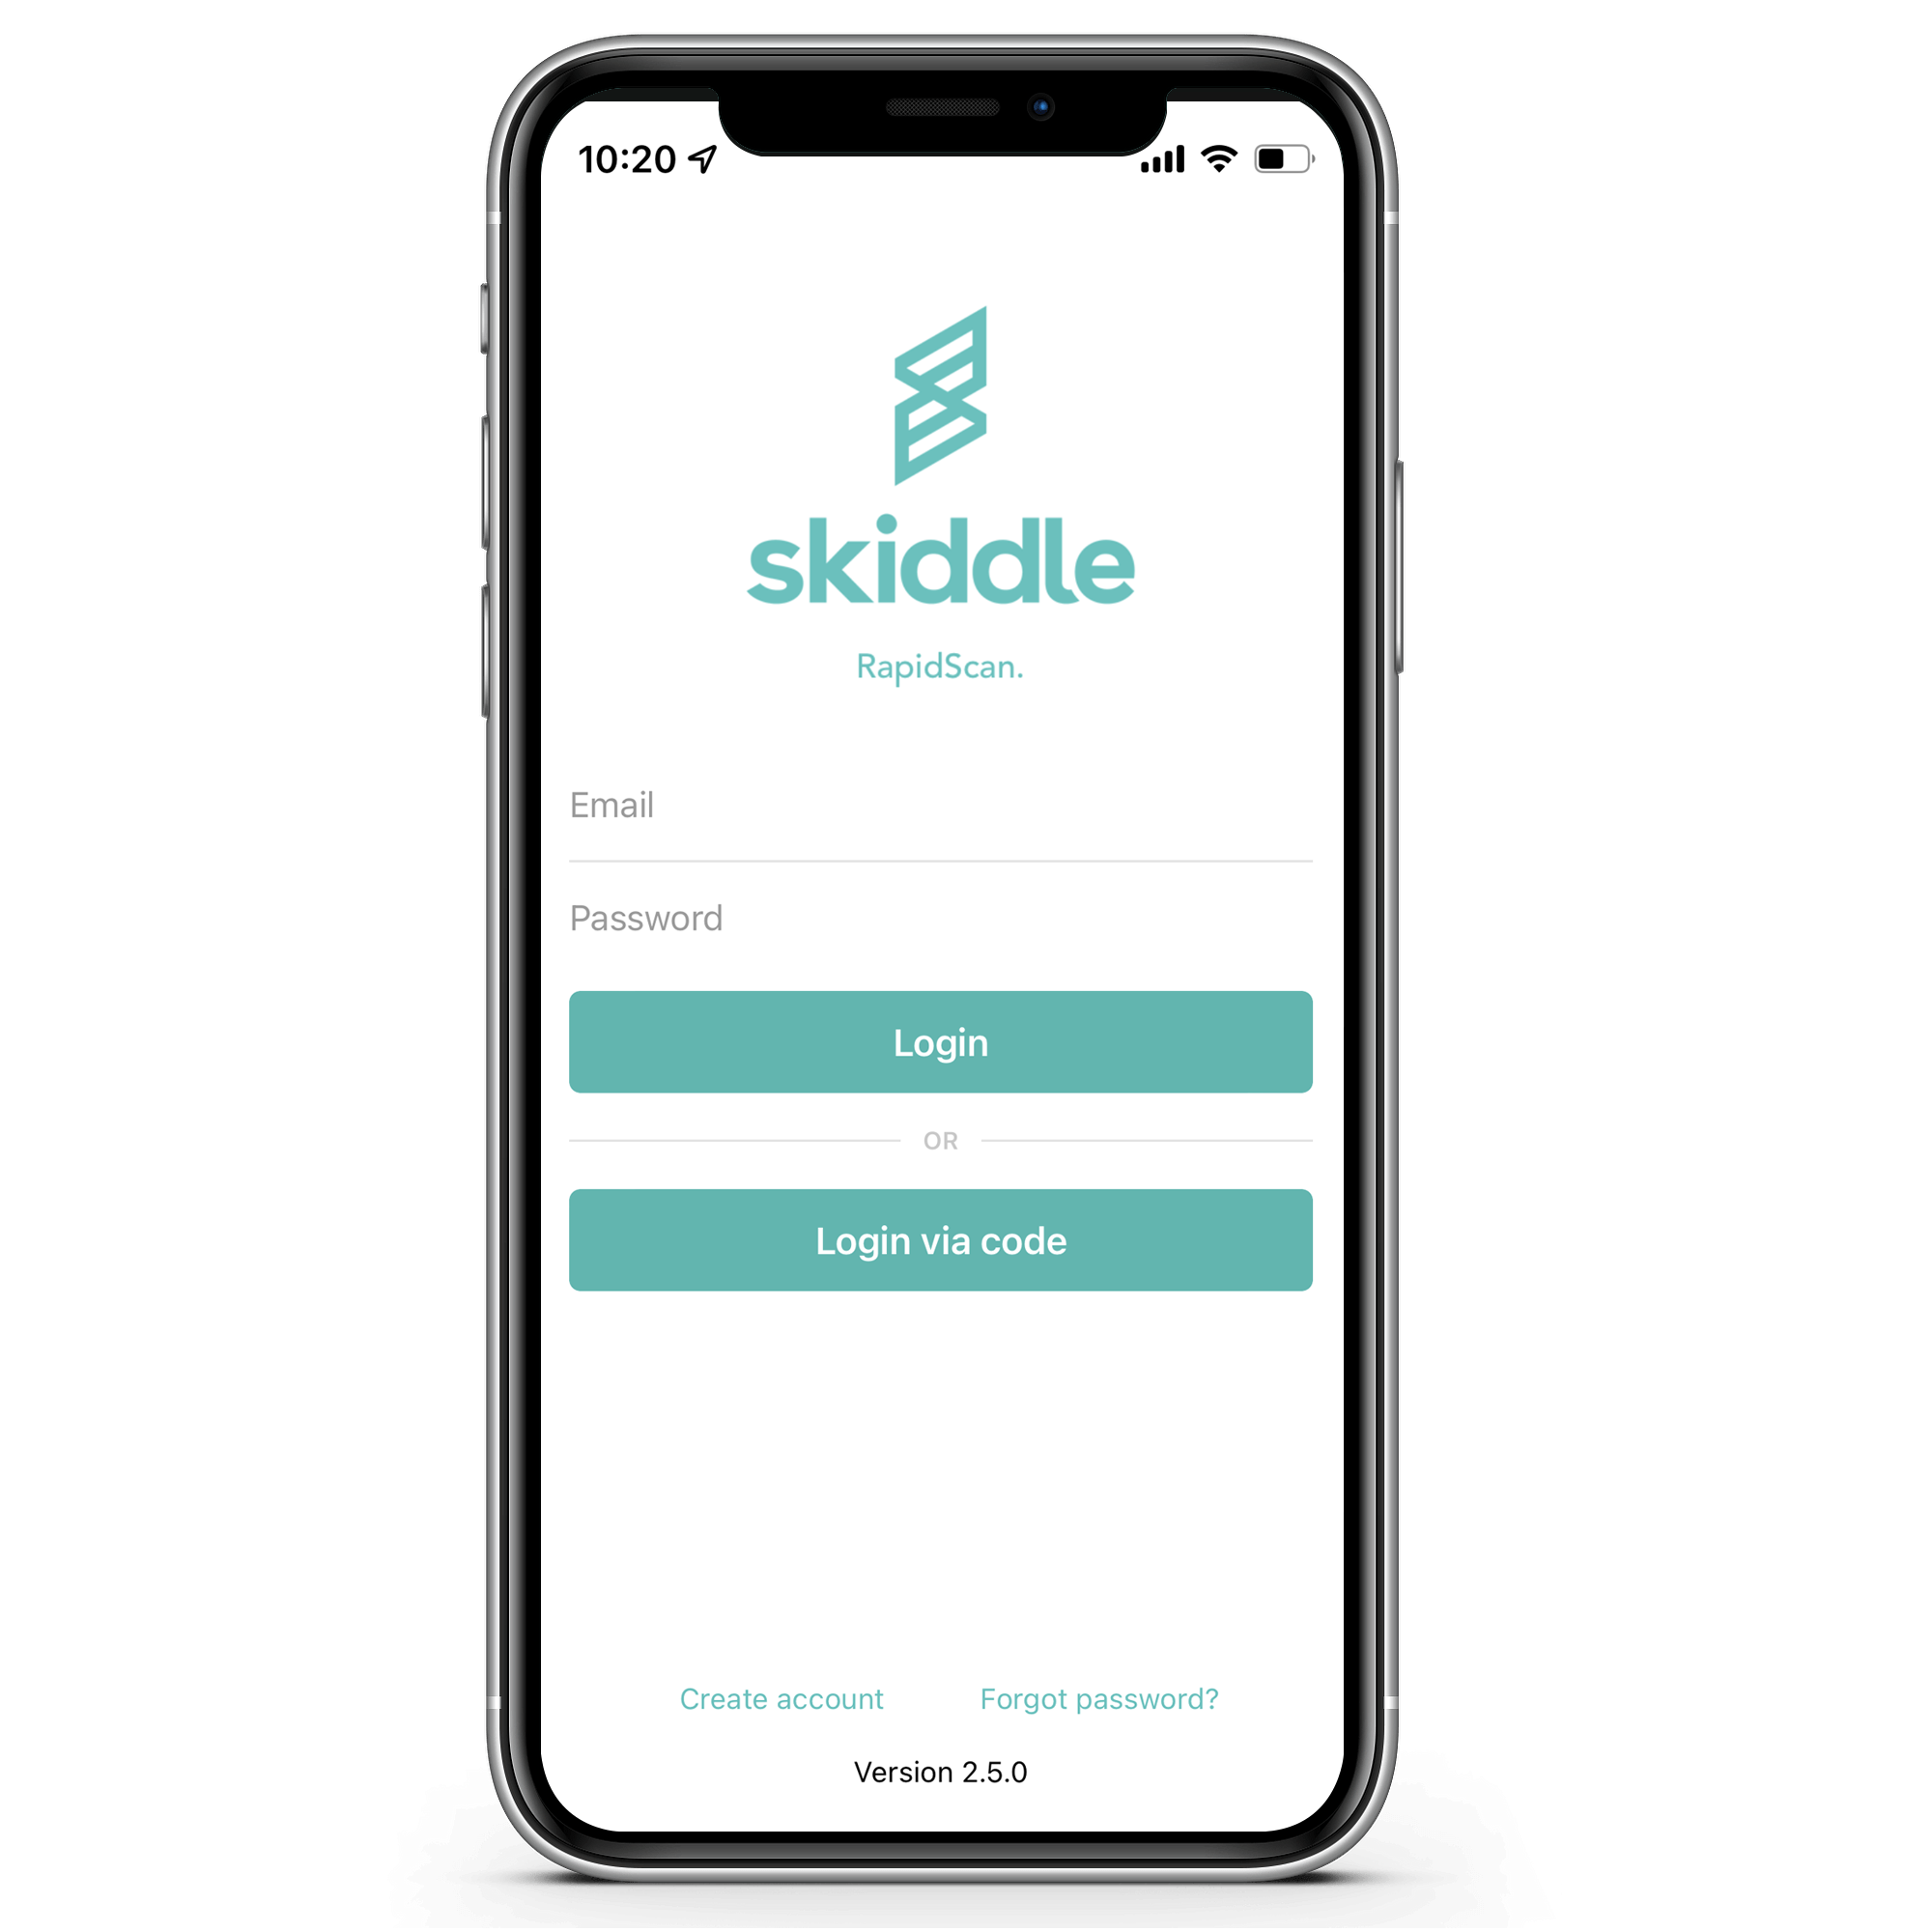
Skiddle’s RapidScan app is available across iOS & Android, allowing you to keep track of people attending, arriving and leaving your event. This is paramount for safety.
With New Year’s Eve being such a busy occasion, you’ll want to ensure everyone gets into the venue and is having fun with as few hitches as possible. Licensing officers and the police will require the number of people on the night. You could be shut down without this data.
If you’re running VIP and different entry lines for your event, RapidScan lets you track multiple entrances. If one door is usually busy, you can plan your staffing around it to ensure the queue runs smoothly.
Hopefully, you’ll have sold out before the night begins. If not, you can keep tickets on sale online, scanning attendees in with the app and ensuring you don’t lose funds. RapidScan lets you see the people scanned into the event, which is useful when substantiating a customer’s story in the event of any discrepancies.
Skiddle’s Promotion Centre allows you to view and analyse all the stats from RapidScan across a range of dates. If you’ve used it in the past, you can look at previous entry data and make plans for your New Year’s Eve event based on it.
Check out our video below on How to Use the RapidScan app.
Waiting List
Waiting List allows customers to add themselves to a ticket queue for sold-out events. We will reserve tickets released via the promoter or by Re:Sell for the Waiting List on a first-come basis; they’ll be notified instantly via email and SMS.
Once notified, customers have a fifteen-minute window to purchase the reserved tickets. If they don’t buy within this timeframe, the tickets will be offered automatically to the next person on the waiting list. Tickets left to be sold after everyone on the Waiting List has been notified will go on general sale to the public.
This process means that tickets are more likely to go to real fans, as they’ve been on the Waiting List. These people aren’t touts waiting for a chance to make a profit from your event. If you’re using Re:Sell, tickets will be allocated instantly to the next customer on the Waiting List.
Event Brands
If you’re promoting multiple events in different cities, Event Brands can help you.
The feature lets you create a page that groups all your listings on one page and have one link for all your events. When someone buys tickets for an event tagged to your brand, they’ll become followers of the brand.
Setting up an Event Brand opens the door to Brand Alerts, which we’ll cover in the next section. Head here to discover how to set up your Event Brand.
Brand Alerts
As we mentioned earlier, creating an Event Brand opens the door to Brand Alerts.
But what else do you need to be eligible for alerts?
Your brand needs to be locked so only you can add events to it. This will stop other promoters from tagging their event to your brand and taking advantage of the follower base your Skiddle brand page has built up.
To do this, head to the Beta Promotion Centre, click ‘Promote’, head to ‘My Brands’ and click ‘Settings’.
Your event must be live, available for the public to view and start after you’ve locked your brand.
Once you’ve met these parameters, you’ll be ready to have alerts sent to your brand’s followers. We’ll send one alert per 48 hours. So, the first alert will go out, and any tagged events will still be eligible for alerts, but they’ll go out 48 hours later.
If you’re tagging multiple events to a brand, we’ll wait 60 minutes after the last event is tagged. This is so your followers get alerts in one go rather than lots of separate ones. Click here for more information on Brand Alerts.
Cool:Off
Everyone wants to have a good time. However, work, life and other commitments can get in the way. How many times have you gleefully made plans, only to find out a couple of days later that it’s a distant cousin’s wedding you can’t wriggle out of?
So, where do we come in? With ‘Cool:Off’. It’s a feature of the Promotion Centre that allows you to set a window between 72 hours and 28 days (our recommended default is 72 hours). Within this period, customers can cancel their order, no questions asked.
Now, you might be thinking: I want to encourage people to buy tickets, not be able to return them. And what about my last week sales? I don’t want to get a load of refunds in a crucial week.
Which, of course, we understand.
But it’ll give your customers flexibility. And with flexibility comes security. When we ran tests, our stats showed offering the service boosted ticket sales by up to 22%. For the events Cool:Off was enabled, less than 0.5% of customers claimed a refund.
This flexibility can encourage people to buy. They’ve got the peace of mind that if they need to cancel, they won’t be left out of pocket. Think of it as a safety net. Plus, the window is available up to a week before your event, so your last week sales are protected.
Click here to read more about Cool:Off.
How to cancel your event
We hope you don’t have to cancel your event.
But these things happen, and The Promotion Centre is equipped to help you carry this task out.
Check out our video below, which guides you through the steps you’ll need to take.
How to refund tickets
If you need to cancel your New Year’s Eve event, then you’ll have to refund your tickets.
You can do this in The Promotion Centre. Check out our video below to discover how.

Got a question you need an answer to? Give us a call on 03333010301 or ask us a question over on the Skiddle Promoter Twitter account by clicking or tapping on the button below. Alternatively, you can also find a list of our most frequently asked questions over at https://help.promotioncentre.co.uk/