
5 Golden Tips for Managing Holiday Events
If planning your upcoming holiday event has you caught in the holiday rush, don’t get your tinsel in a tangle. Ticketbud’s free ticketing platform makes managing your holiday event easy. Create an event website in less than 20 minutes and utilize our full suite of ticketing tools to promote your event and communicate with your guests.
To get started managing holiday events with Ticketbud, check out this 6-minute video. It walks you through how to sign-up for Ticketbud and create your first event. Or, read through the three easy steps below.
Already a fan? Keep scrolling for five golden tips on managing holiday events with Ticketbud
STEP 1 – Create your event page with Ticketbud’s easy-to-use template, allowing you to plug in important event details (time, date, location, description) and add a custom banner and supporting images to the page. Still ironing out details? No worries – these fields are editable even after your event is live.
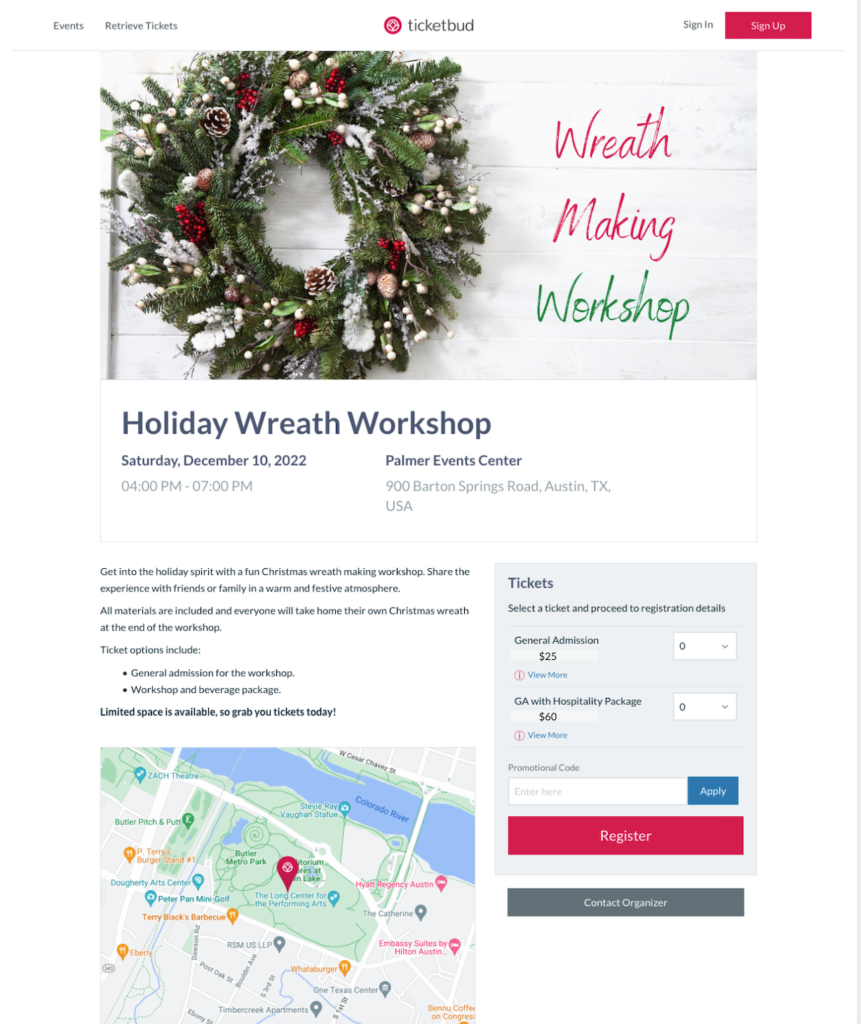
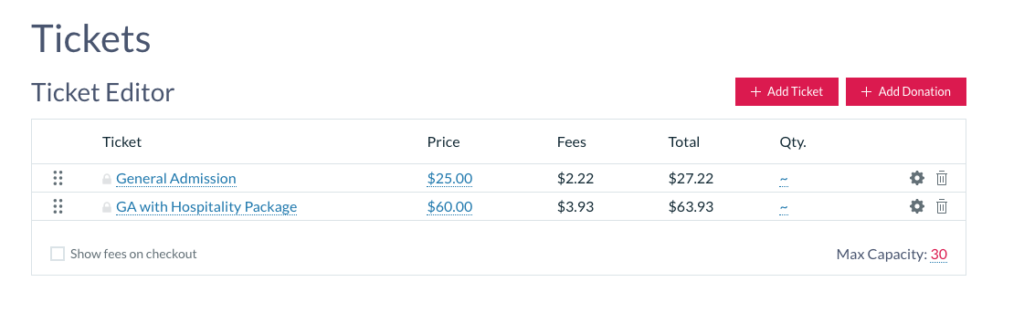
STEP 2 – Add ticket types. You’ll need at least one type of ticket (GA) but can create as many ticket types as you’d like for your event. So, consider adding tiered pricing based on seating section or VIP, early bird registration, parking passes, etc.
STEP 3 – Connect payment processor. If you’re hosting a paid-ticket event, you will need to configure a payment processor, such as Stripe, PayPal, or WePay, to hold and process the money from your ticket sales. Don’t have an account? Don’t worry, Ticketbud helps you get an account organized.
______________________________________________________________________________________
Once your event is set-up, Ticketbud makes managing and monitoring your holiday event easy with built-in communication and reporting tools, offering unique promotional capabilities to help drive sales and attendance.
Here are five golden tips to for managing holiday events using Ticketbud:
Tip 1 – Centralize Your Communication
Invite and communicate directly with attendees through the “Promotion” tab on Ticketbud’s event dashboard.
Share your event page with potential attendees through personal email invites or upload your entire guest list to spread the news of your event fast.
Ticketbud’s email tools allow event planners to streamline communication through scheduled reminders and mass email updates sent directly through the platform, with delivery reports included.
You can target communication to specific ticket types if customized messaging is needed. Event organizers can also customize the sender or ‘reply to’ address so responses to Ticketbud-sent emails come directly to your inbox.
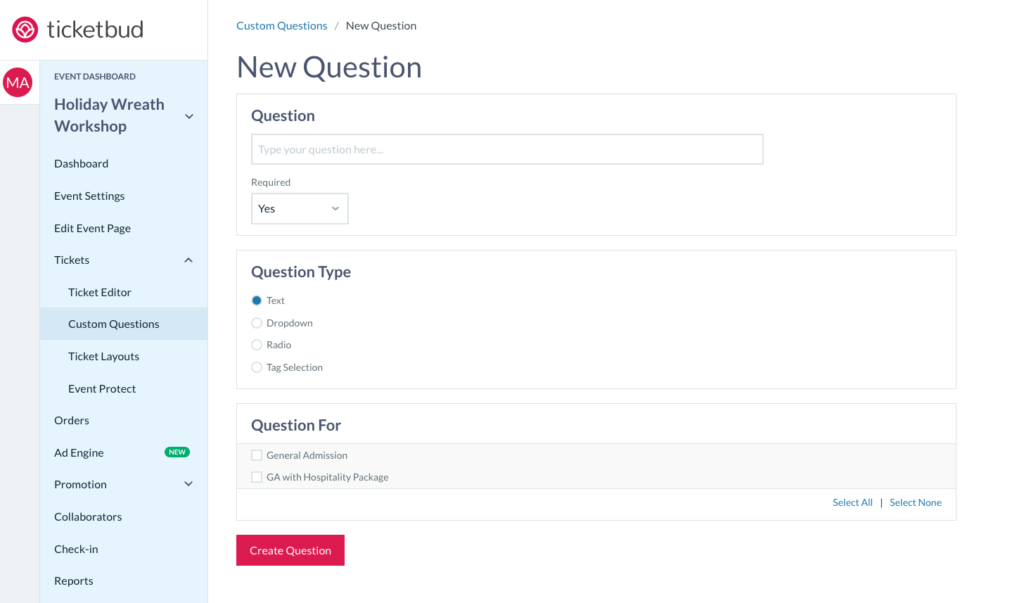
Tip 2 – Get to Know Your Attendees
The ticket editor in the event dashboard allows organizers to create custom questions for attendees. Responses to these questions will help plan for the upcoming event or for future promotions. Note that questions can be customized to appear only for specific ticket types or required for all attendees.
For best results, utilize this tool to identify dietary requirements or collect background information that might be pertinent in shaping the event. Or, use it to prompt guests to submit questions or ideas for content. If you have a mailing list, create a questions that asks attendees to opt into your mailing list.
Tip 3 – Customize the Tickets
Once registered, ticket holders will receive tickets via email from Ticketbud. The auto-generated, full-page ticket template contains a QR code for easy check-in, along with event time and location details.
Feeling creative? There is plenty of white space to customize your ticket with additional event information, design, or branding opportunities. For example, if you’re selling parking passes to your event, you may choose to create a specific layout for your parking ticket that includes a map and parking instructions. You could also choose to include an ad for future events on the current event ticket.
For more info on how to customize your ticket layouts, check out this video tutorial.
Tip 4 – Utilize Holiday Sales and Promotions
Harness the spirit of holiday savings by creating your own ticket discounts with Ticketbud’s promotional tools. Click here to learn how to generate custom promo codes for event discounts or exclusive sales opportunities.
Additionally, event planners can create special access codes. When used, the codes unlock hidden or VIP tickets so event planners can customize the event features for different audiences.
Tip 5 – Promote Social Sharing
Share your Ticketbud event page link across your online channels, and encourage your attendees to do the same. Direct ticket buyers to the social share buttons on your event page to amplify reach.
You can track the success of social media campaigns by creating unique referral tracking links. When clicked on, these links will generate an engagement report. This information will help inform your marketing efforts for you holiday event. Use it to direct promotions to channels receiving the most engagement.
What are you waiting for?
Get started and create your first event.
If you need a little more information on managing holiday events with Ticketbud, request a custom demo walkthrough.